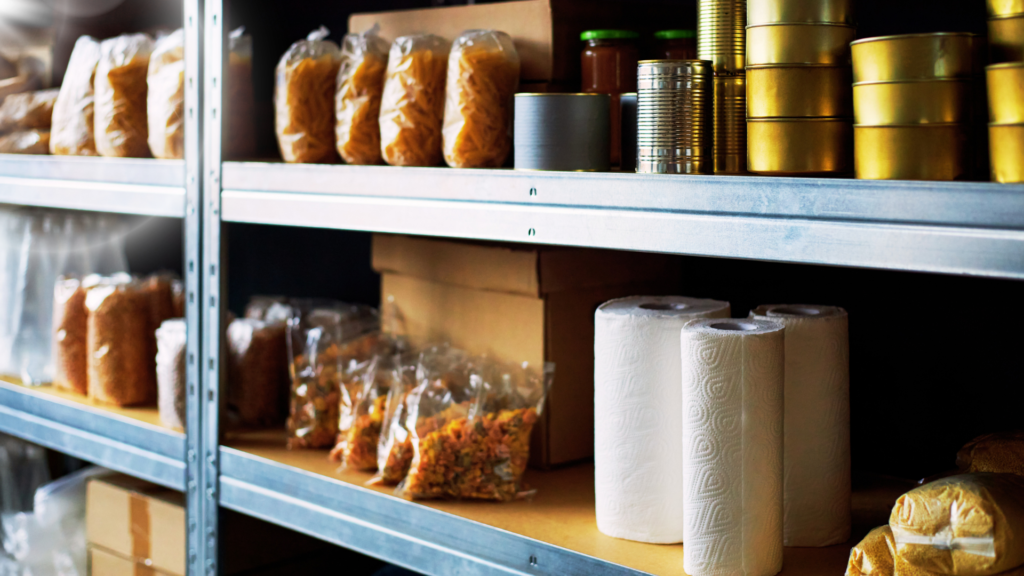

Before You Begin: The Pantry Audit
Open every cabinet and count what you have. Write it down.
How many days could your household eat from what is currently in your kitchen — without a grocery run? Most households can answer “three to five days.” A sovereign pantry’s goal is four weeks of primary staples, supplemented by fresh food from the garden and regular shopping.
Remember, baby. You are building toward that target gradually, not all at once.
Week 1: Build the Grain and Legume Foundation
- Days 1–3: Stock your grain layer. Purchase in bulk where possible — bulk bin pricing is significantly better than packaged, and whole grains store beautifully in sealed containers. Target: rice, oats, quinoa, cornmeal, and one or two whole grain pastas or flour options.
- Days 4–5: Stock your legume layer. Dried beans are your most economical and nutritionally dense pantry staple. Lentils (red, green, and black), black beans, pinto beans, chickpeas, kidney beans, split peas. Purchase enough for at least four weeks of regular use.
- Days 6–7: Stock your fats and liquids. Olive oil, coconut oil, a quality nut butter, raw nuts and seeds (sunflower, pumpkin, almonds, walnuts), and coconut milk or other plant-based milks for cooking. Vegetable broth — boxed or from bouillon — for cooking grains and legumes.
Week 2: Build the Spice and Flavor Layer
A sovereign pantry that doesn’t taste good is not a sovereign pantry. It’s a survival kit. Week two is about building the flavor infrastructure that makes eating from your pantry a pleasure rather than an obligation.
- Days 8–10: Build your spice collection intentionally. Every household’s spice drawer should reflect that household’s culinary tradition. For a Black Southern kitchen with a plant-based focus, that typically means: smoked paprika, garlic powder, onion powder, cumin, coriander, cayenne, black pepper, oregano, thyme, bay leaves, turmeric, nutritional yeast, and whatever spice blends are native to your family’s cooking.
- Days 11–12: Add the umami and fermented layer. Tamari or soy sauce. Apple cider vinegar. Hot sauce — make your own or stock a quality brand. Miso paste. These are the flavor bridges that make simple grain and legume meals taste complex and satisfying.
- Days 13–14: Add your sweeteners and baking staples. Pure maple syrup, dates, raw honey if you use it. Baking powder, baking soda, vanilla. These expand what you can make from the pantry into desserts, baked goods, and the culturally significant sweet dishes that are part of any true food sovereignty practice.
Week 3: Fresh Food Management and Preservation
Week three extends the pantry into the fresh layer — and builds the preservation skills that prevent waste and extend abundance.
- Days 15–17: Establish a weekly fresh produce system. Identify which vegetables your family eats most consistently and make them the anchor of your weekly shopping. Dark leafy greens, cruciferous vegetables, sweet potatoes, onions, garlic, and citrus are the workhorses of a plant-based kitchen.
- Days 18–19: Learn one preservation technique. Lacto-fermentation is the simplest and most nutritionally valuable: shredded vegetables, salt, a jar, and time. Fermented vegetables — kimchi, sauerkraut, pickled beets, fermented hot peppers — last months and support gut health. This is ancestral food preservation practice rooted directly in African and African American food tradition.
- Days 20–21: Start or expand your container garden. Even in a small space, a few containers of herbs, cherry tomatoes, peppers, greens, and pole beans meaningfully extend your fresh food supply through the growing season. Choose what your family actually eats and what grows well in your climate.
Week 4: Emergency Reserves and Household Integration
Week four completes the sovereign pantry by building the emergency reserve layer and integrating the system into your household’s regular rhythms.
- Days 22–24: Build a two-week emergency reserve separate from your regular pantry. This is the supply that sustains your family through a job loss, a natural disaster, a supply chain disruption, or any scenario where your regular shopping routine is interrupted. Label it, date it, and rotate it annually.
- Days 25–27: Build your water reserve. One gallon per person per day for two weeks is the standard guideline. Store it properly in food-grade containers in a cool, dark location.
- Days 28–30: Systematize the restocking practice. Every time you use something from the pantry, it goes on the replenishment list. The monthly or biweekly “pantry run” replenishes what was used. The pantry maintains its depth without requiring a major investment each time.
The free guide — The Black Woman’s Household Security Framework — includes the food security checklist that anchors this practice in your complete household security plan.
Download the FREE GUIDE: The Black Woman’s Household Security Framework + Checklist
Next in this series: Who Would Make Your Medical Decisions If You Couldn’t?
I Love You to LIFE! 🖤
LA🌻🖤✊🏾
Lisa Ann Mason | Legacy Architect & Generational Wealth Strategist
@MsLisaAnnMason | Your Best Move
Create Your Legacy | WeGotWealthAttheHouse.com
Meet Me at The House | MeetMeAtTheHouse.com